

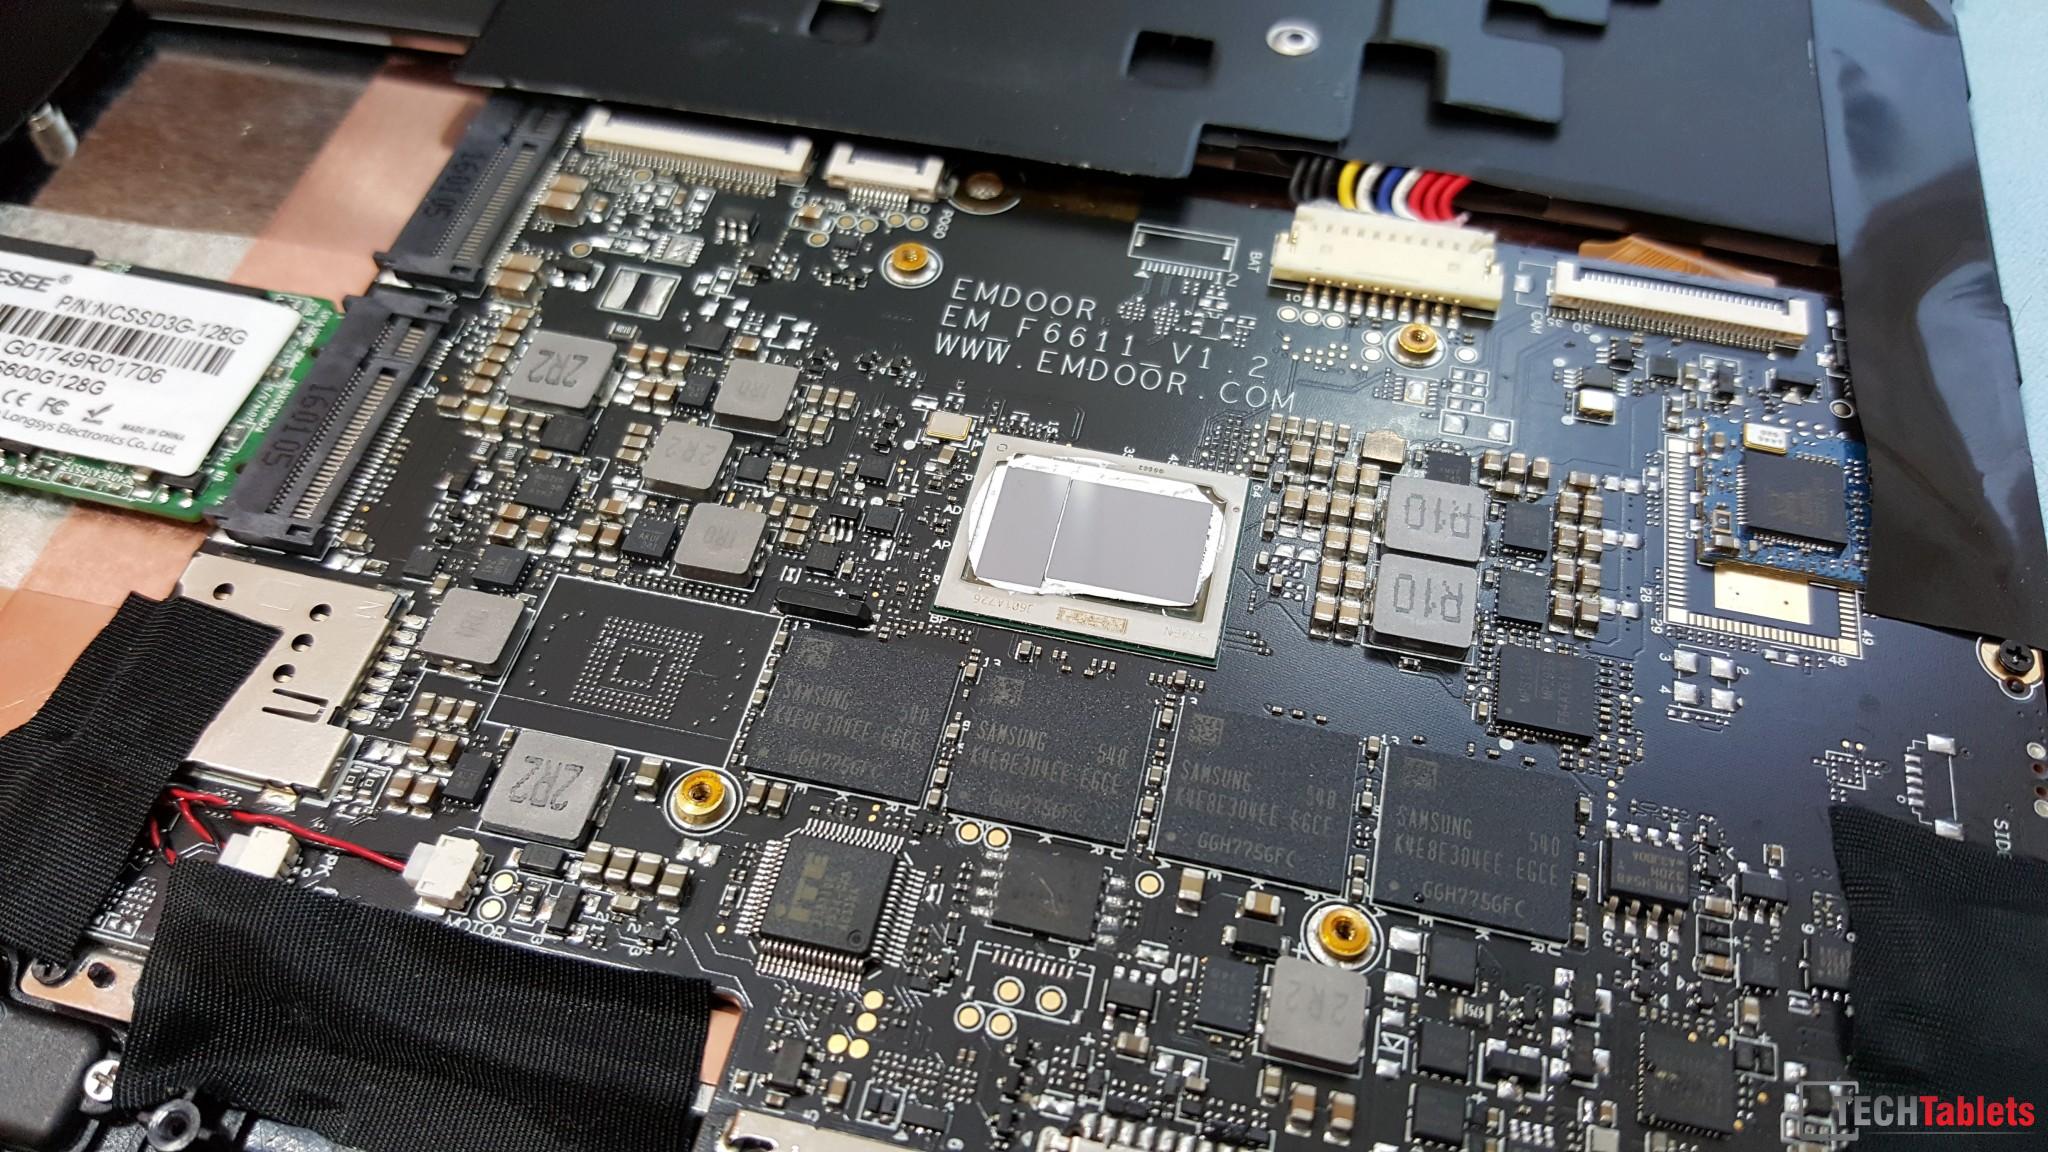
Those following my Cube i9 posts and YouTube videos would have seen that I bricked the tablet. But now I ‘m back up and running, more about that here and the Cube i9 bios recovery flash method write up is here. Just before I bricked it, I did a cheap and relatively easy heat sink mod. It’s very basic, but has a huge impact on overall thermals. Why Cube or any of the Chinese manufacturers don’t do this is quite baffling or just use a copper heat sink like Dell does on their Core M tablets? It has to be down to cost savings.
This is just an extra I’ve done on my Cube i9. I will not effect the review on the site. The review, like all the reviews here will be based on the unmodified tablet as is from the factory.
WARNING: This is a modification, please only do this mod if you are capable and have experience. This is just a guide, I’m not an expert or responsible if you mess it up and kill the tablet, cause premature component failure, burn your house down etc.

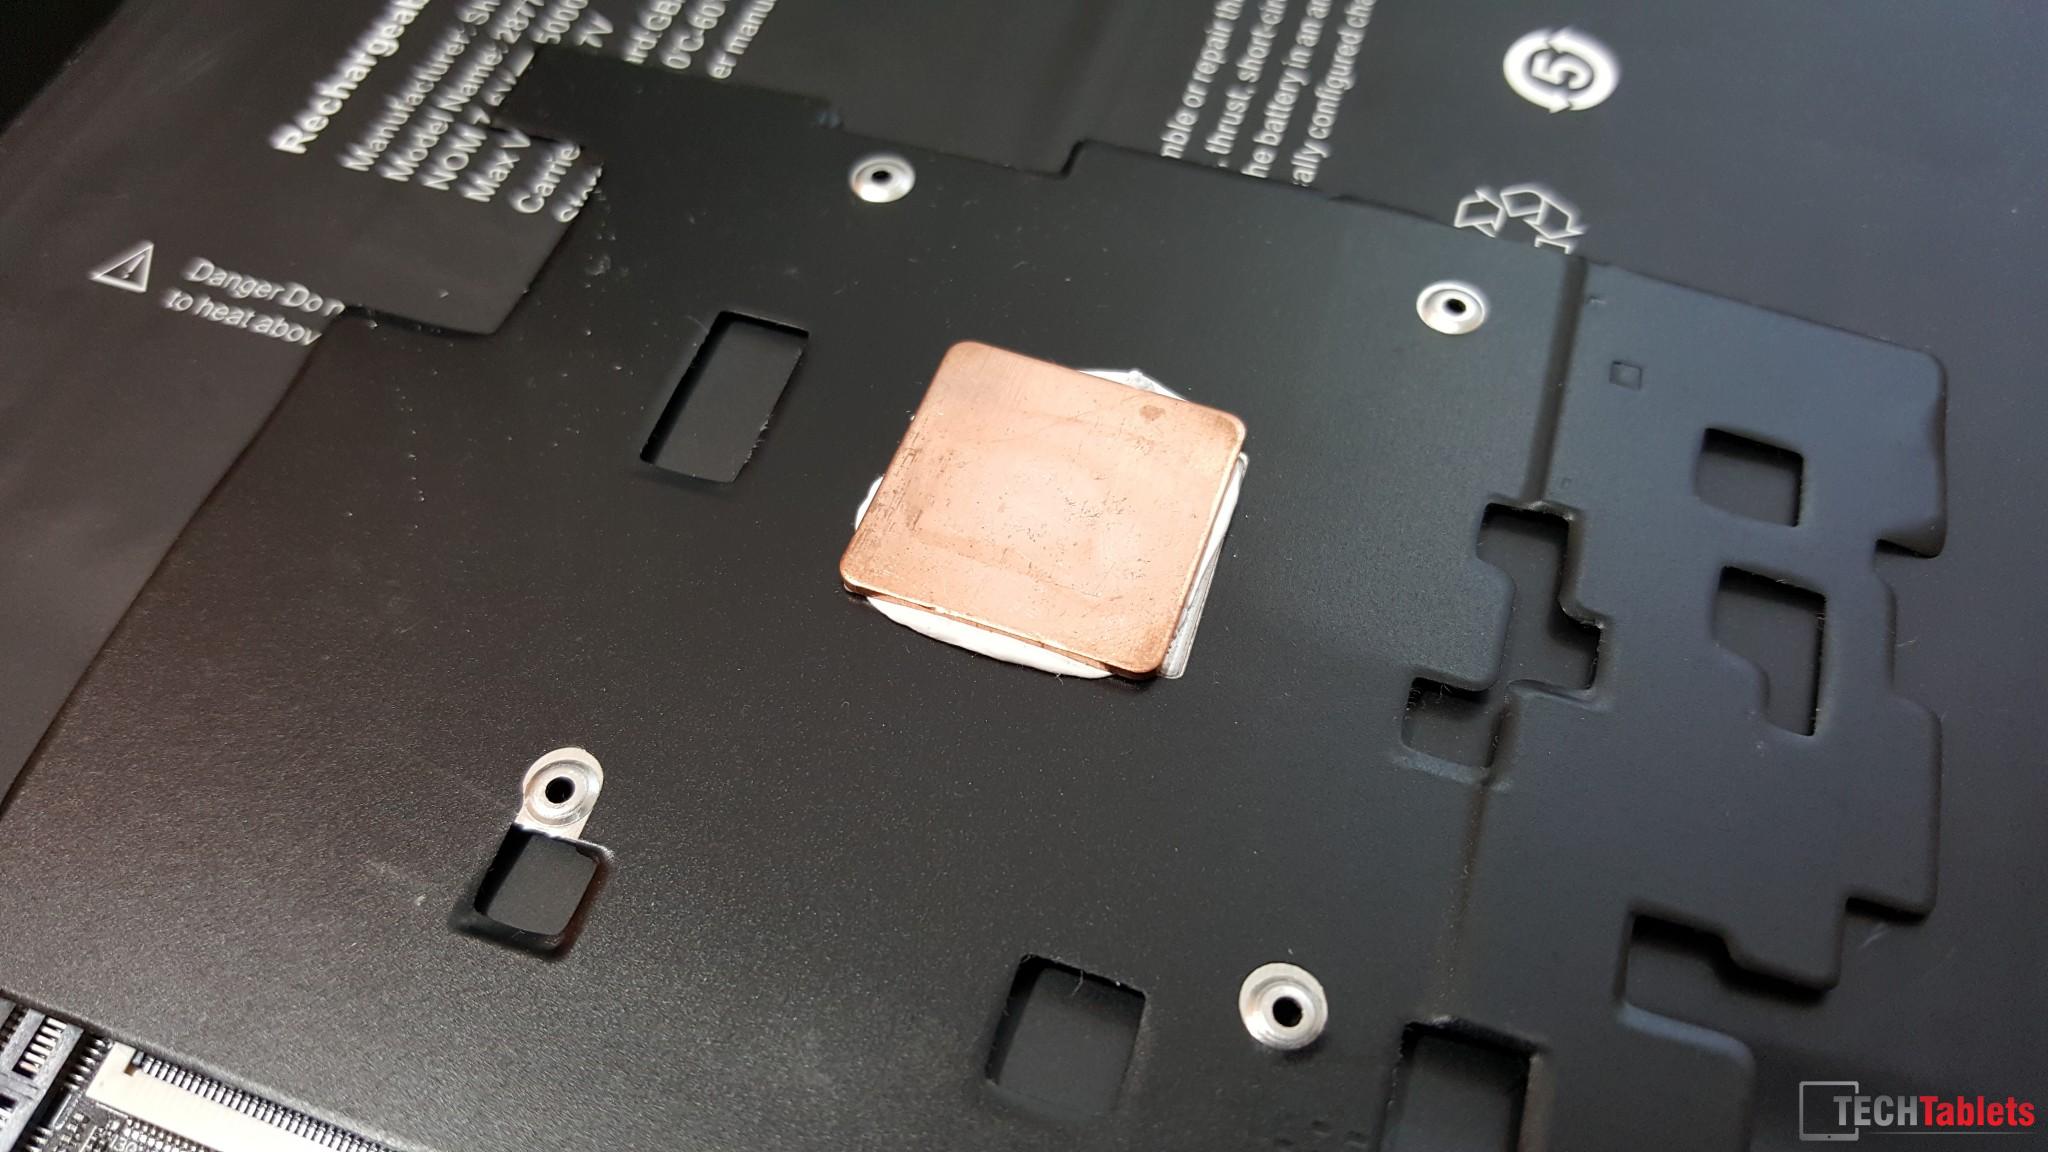
A 20mm copper shim:
What it consists of is a 20mm x 20mm copper shim that’s 1mm thick, you then use some thermal adhesive paste to secure it in the middle of the aluminum stock heatsink (where the CPU die would touch the stock heat sink) And since it’s only a small copper plate (You can find them on ebay) it shouldn’t be near anything that would cause any shorts.

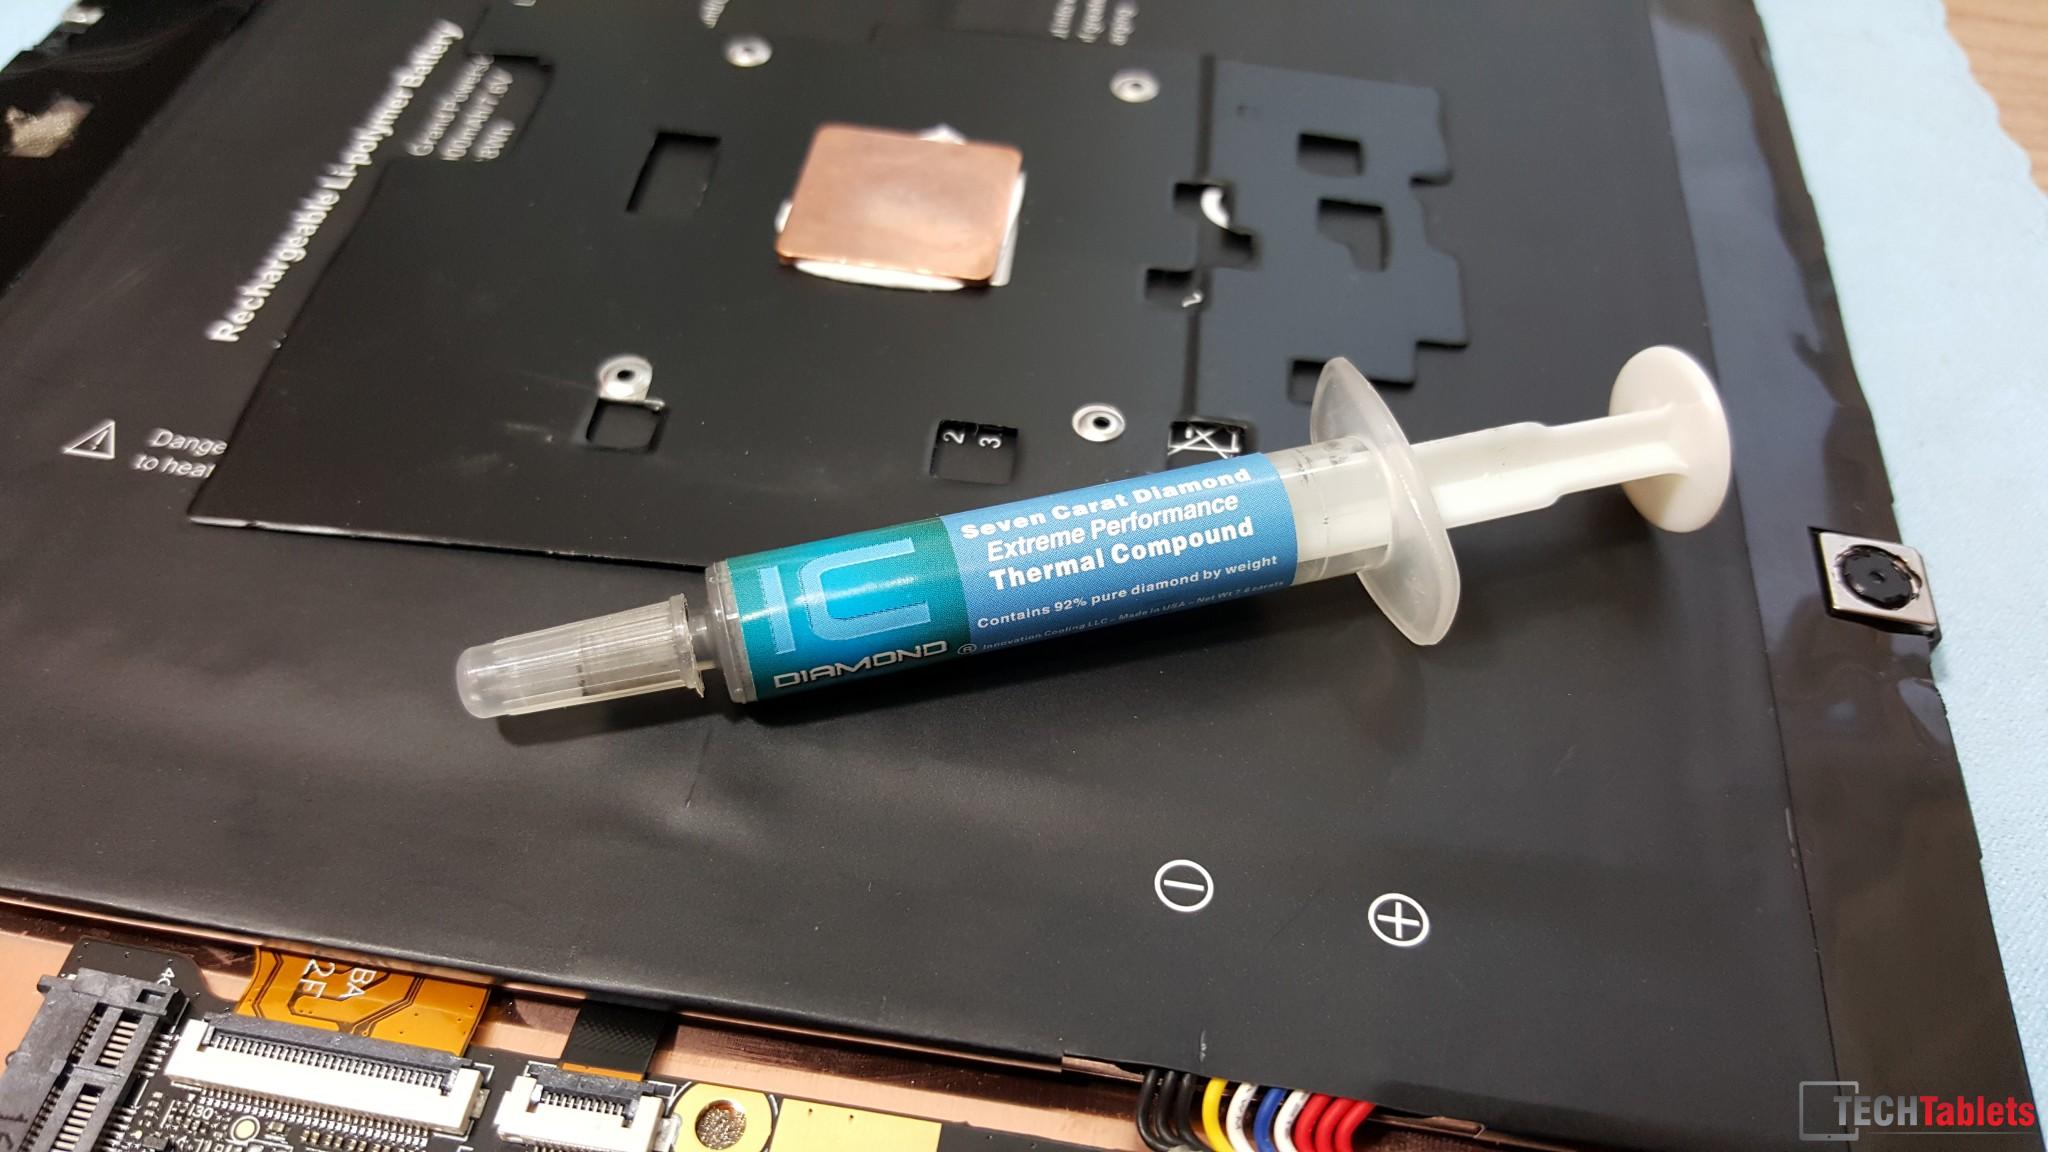
Then you can either use more thermal adhesive or better in case you need to remove it I opted to use some thermal paste for contact between the CPU and copper shim. I used IC Diamond 7, but any brand name thermal compound would be just fine. No need to use the super good stuff since its not a desktop i7 6770k, just a little low power Core M. Make sure you screw the heatsink back in place starting from one corner to the opposite to give even pressure on the thermal paste and so it spreads evenly. I went overboard on my first go, just use a small rice size or spread it super thin, whatever method you prefer to apply thermal paste.
Now you can replace the thermal pad on the top of the stock heat sink or leave it as is. I replaced it using one with the same dimensions with a better quality pad. 1mm in thickness is all that’s required. You can add more thermal pads to the top of the factory heat sink to help transfer even more heat to the rear alloy casing. It’s up to you. This mod should lower your Core M3-6Y30 temperatures a good 20 degrees when under sustained full load.
Of course, if you’re into doing things properly, you could fabricate a new whole heat sink based on the stock design but made out of copper. Make sure you use some heat resistant insulator tape or plastic under it however, as you don’t want to short out anything under that heat sink!

Power limits, increase them to push the Core M3 even harder.
Due to the limited thermal dissipation the aluminum stock heat sink has, Cube opted to lower the power limits of the package in order to help cap the heat output (Also it might help increased battery?) The Microsoft Surface Pro 4 using the same chipset has a slightly higher power limit of around 9W and much better thermals and design of course. So Cube used 7W Turbo Boost Power Max Setting. And if you have done the heat sink mod, now you can do this if you want to match and even better the Surface Pro 4 M3’s performance.
Another warning! Only increase the Power Limits if you have the copper thermal mod. Otherwise, you’ll just hit thermal throttling, gain nothing and even possibly go over the 88 degrees I encountered on the stock cooling set up. Plus you could even cause the system to shut off to prevent overheating.
Just move the Turbo Boost Power Max setting up to say 10W and also increase the Turbo Short Power Max. I tried some crazy high numbers, nothing happened, according to HWInfo it didn’t go over about 12W in total the peak.
Download Intel Extreme Tuning Utility (Intel XTU)
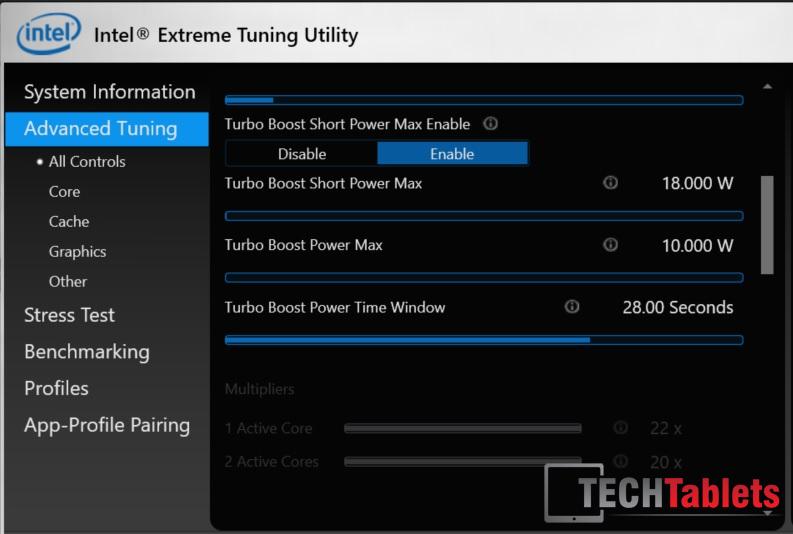
The result of increasing the Turbo Power Boost Limits, is it allows the total package CPU+GPU and everything to consume more power, turbo a little higher and most of the benefit goes to the GPU which now consumes a good 2 watts max more.
The Results:
In a real game like Battlefield 4 and not a benchmark, it almost doubled the frame rates and made it playable. The same would go for 3D applications like AutoCad and Cinebench mark etc.
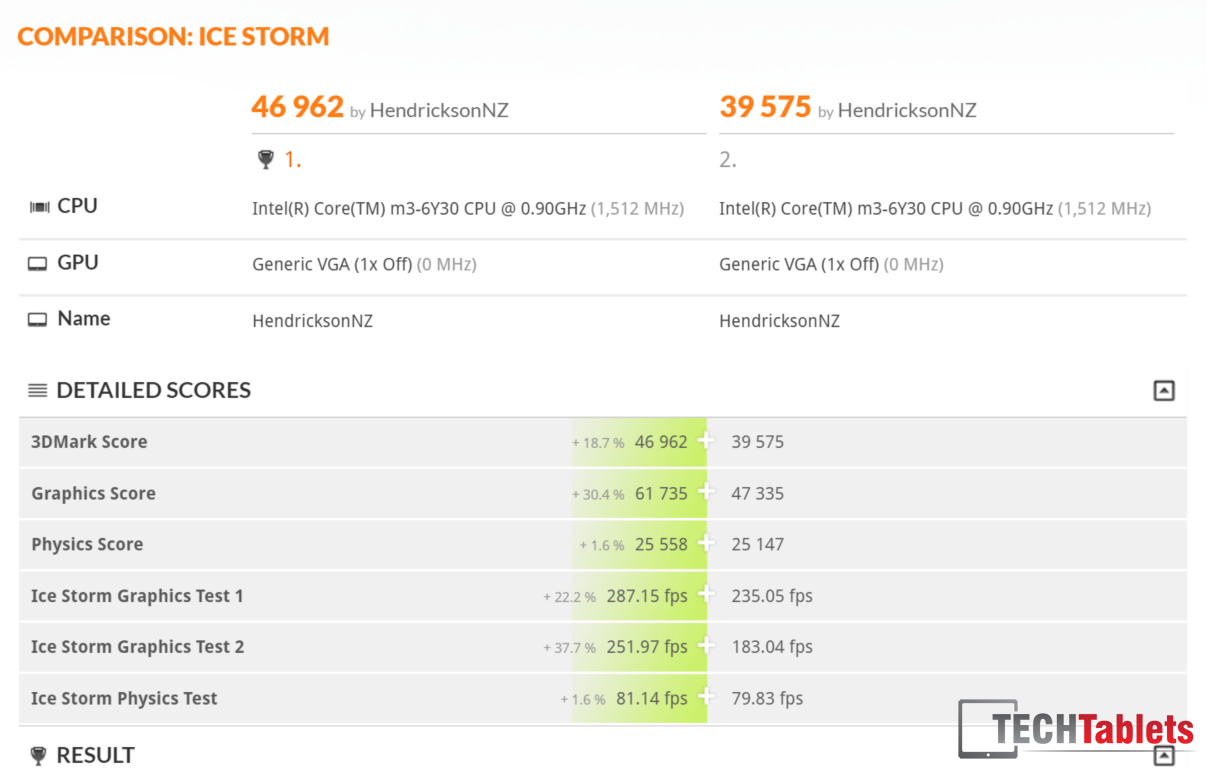
Here is a quick set of results. 3DMark Ice Storm 1.2 stock power limit (with heat sink mod) Vs Ice Storm 1.2 with power limit increased via XTU
http://www.3dmark.com/compare/is/3752213/is/3751797
Graphics gets a nice 30% bump!
And if we compare a stock heat sink unmodified Cube i9 to my Cube i9 with the copper heat shim mod and power limit increase:
Some scores are up over 50%!

Now your mileage will vary, some chipsets might get slightly more, difference graphics drivers etc, so don’t expect to get these scores on your own i9 or you could get even higher than mine. In theroy this method should work on other Core M3 tablets like the Teclast X3 Pro, Voyo Vbook V3 Ultimate, and future units.